| Table of Contents |
|---|
...
Homepage banner image specifications
...
The photograph must be copyright-cleared and include a photo credit where required.
- Open the photo in a photo editing program
- Crop the image to 1500 x 600 pixels
- Resample to 72 dpi (web resolution)
- "Save as" or "Export" the cropped and modified photo
- Check File Info/Properties to confirm the file size is less than 250kb
...
Logo specifications
...
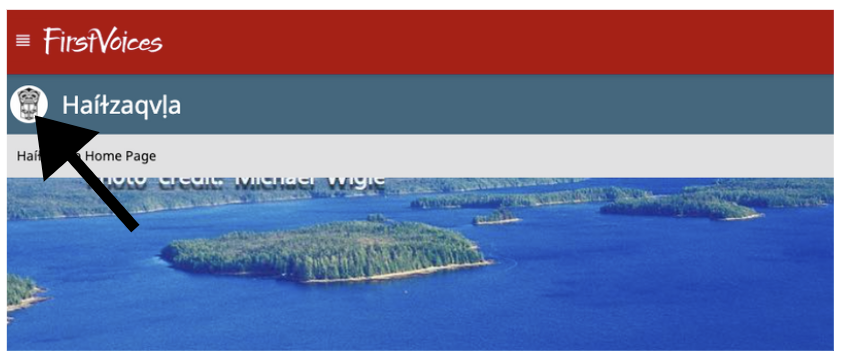
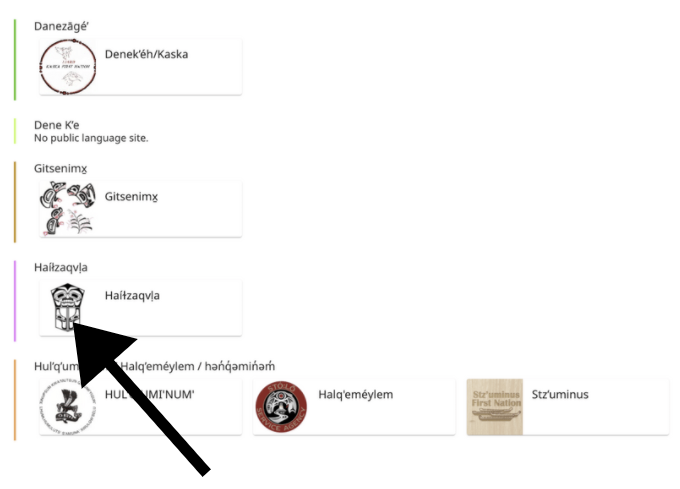
This will represent the icon people see on the "Explore Languages" page as well as in the corner of your language site. It is important that it is relevant and high-quality, and that you have permission/authority to use it. The acceptable formats are:
A high-quality original SVG file for vector art (Preferable)
A high-quality transparent PNG file at least 500 x 500 pixels (Minimal)
For your logo artwork, DO NOT add any extra shadowing, rounded corners, square button background
...
Upload and enable your logo and banner
...
- As a language administrator, navigate to your language site homepage and go to Workspace
- Click on "Edit Portal" button
- Scroll down to find "Background Image" or "Logo"
- If there is already a background image/logo assigned click "Replace" → "Upload New", otherwise simply click "Upload New"
- Enter a name, description, source, and recorder (photographer/artist) as needed for your image
- Click "Choose File", select the file you saved
- Click "Upload Media", and then "Save" the change to your portal
- The new photo should replace the default graphic on the landing page
...


