...
Normalization is used to amplify (make louder) sounds that are too quiet, or to reduce (make quieter) sounds that are too loud. If your track is consistently too loud or too soft, (above -12db or below -6db), then it is recommended to apply normalization to your whole track. These examples show normalizing individual segments of a track.
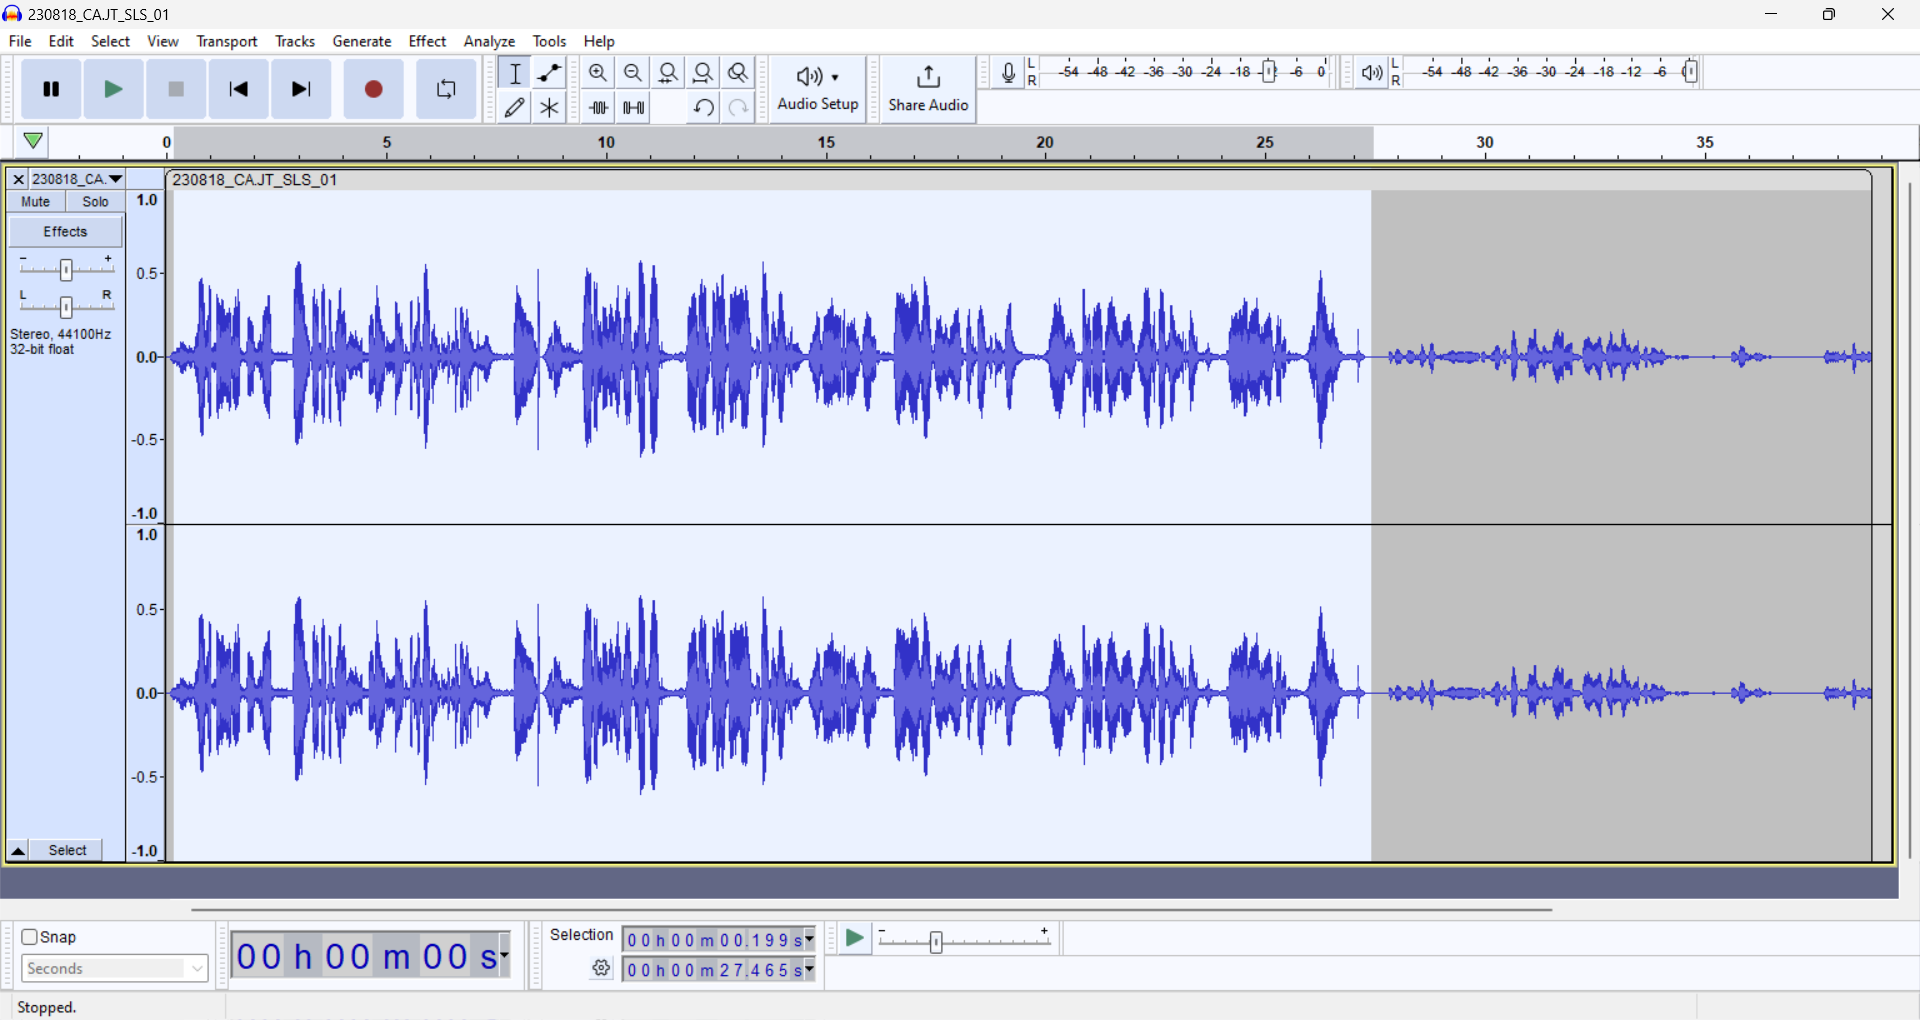
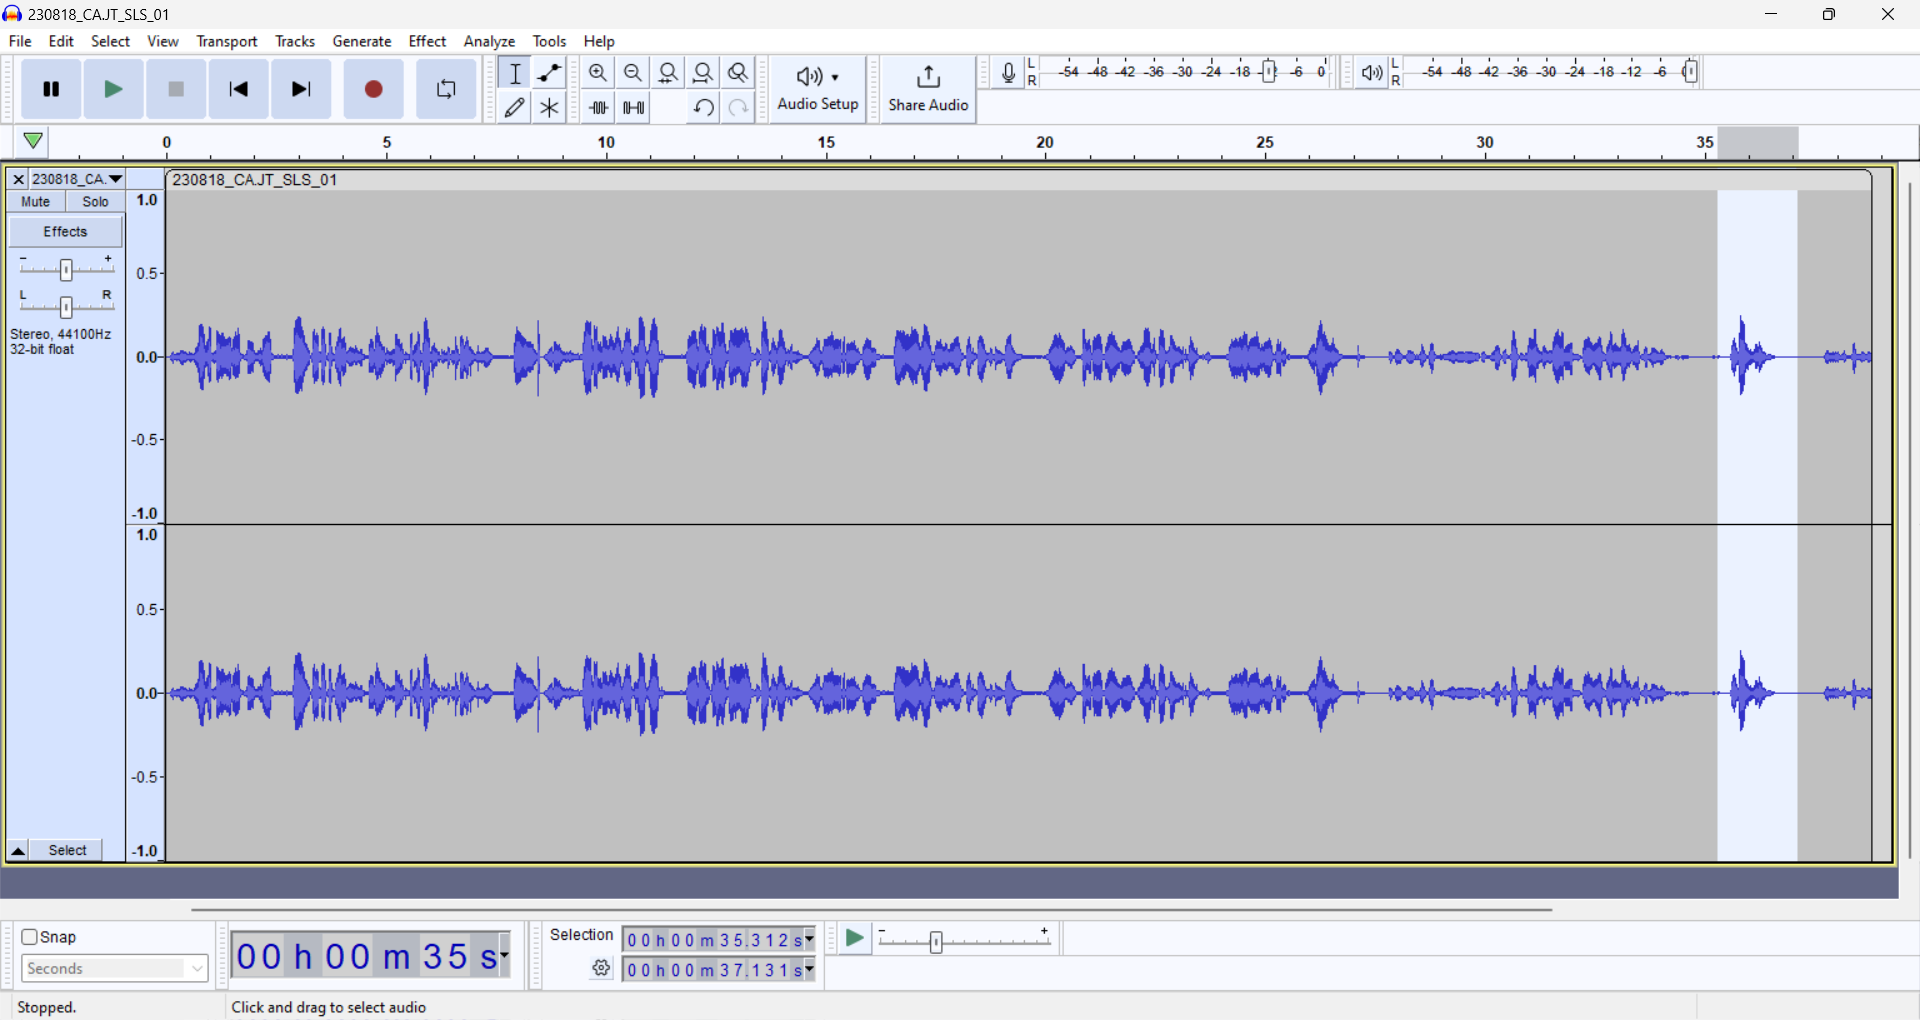
Listen to your track and visually identify the segment that you want to amplify or reduce.
Click to the left of the segment, drag your cursor to the right of the segment, and release. This will highlight the segment.

In the Audacity window, go to the "Effect" menu. Find “Volume and Compression in the dropdown menu, look for "Normalize..." in the list, and click.

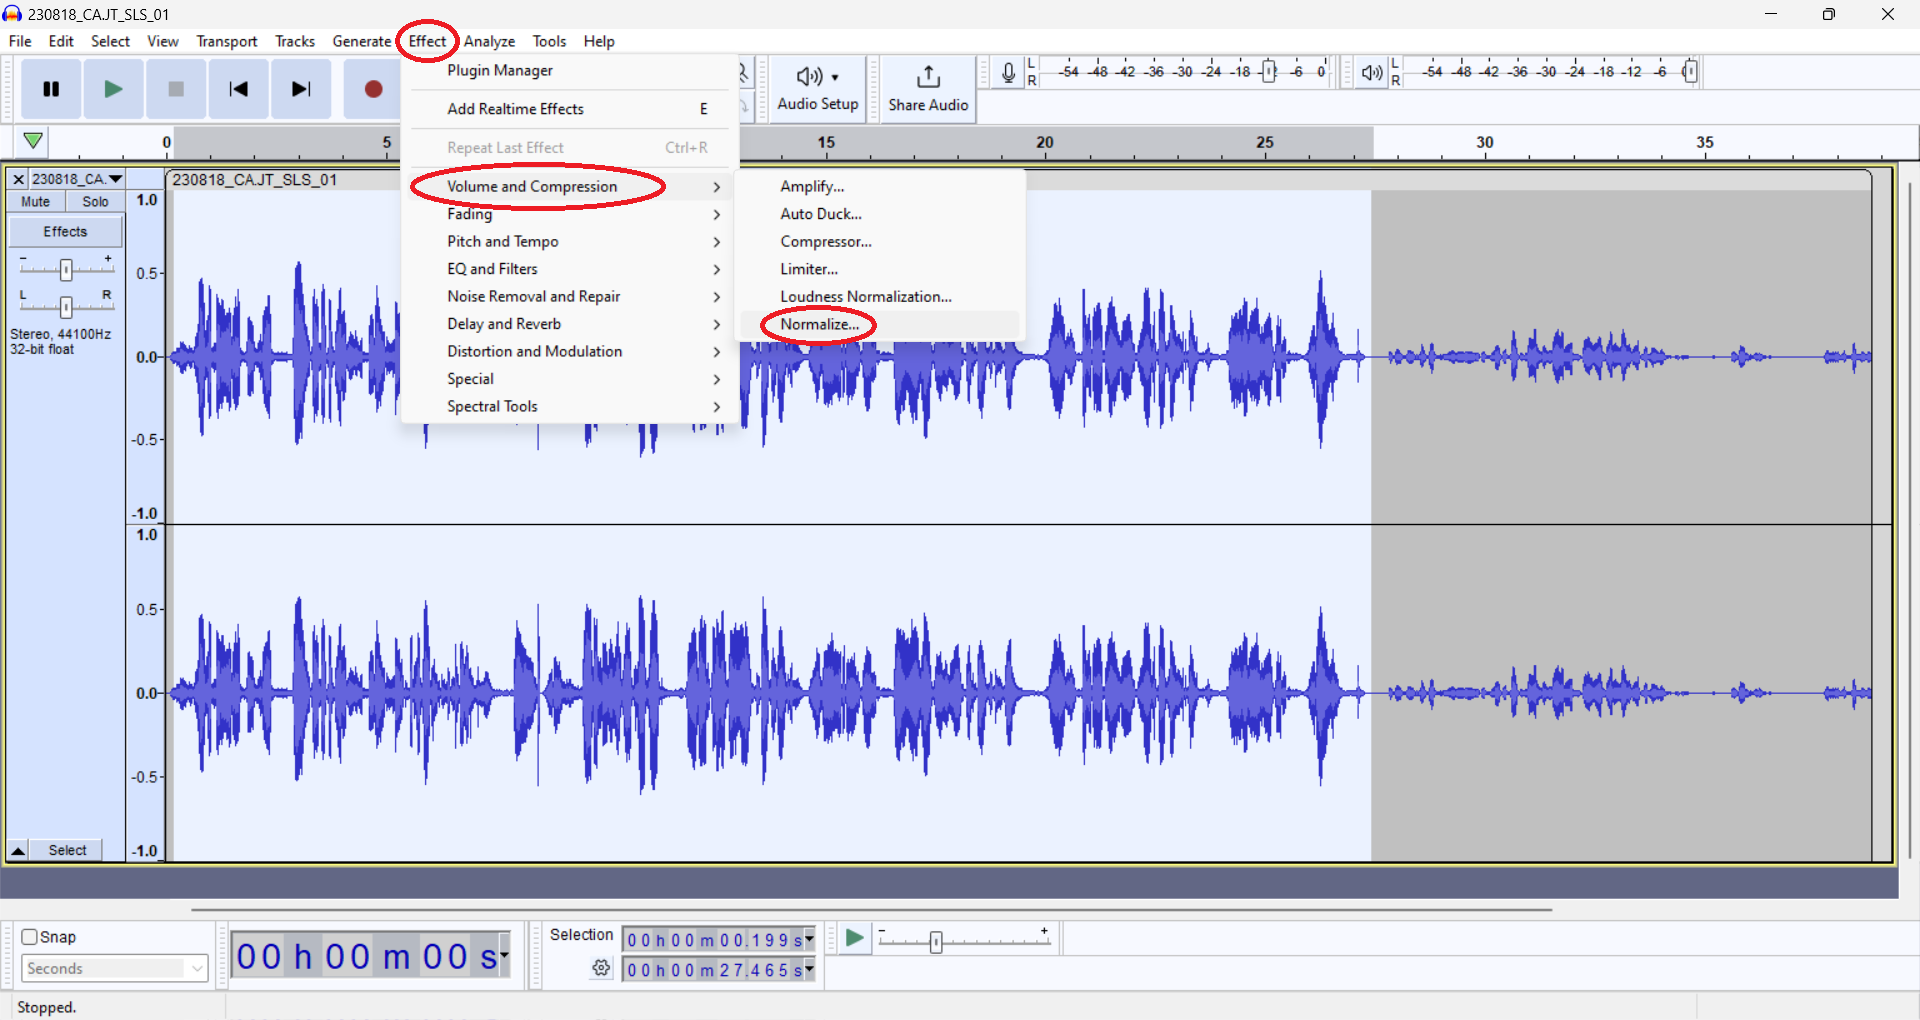
Normalize your segment to -12db.

Segments that are too loud will appear smaller:


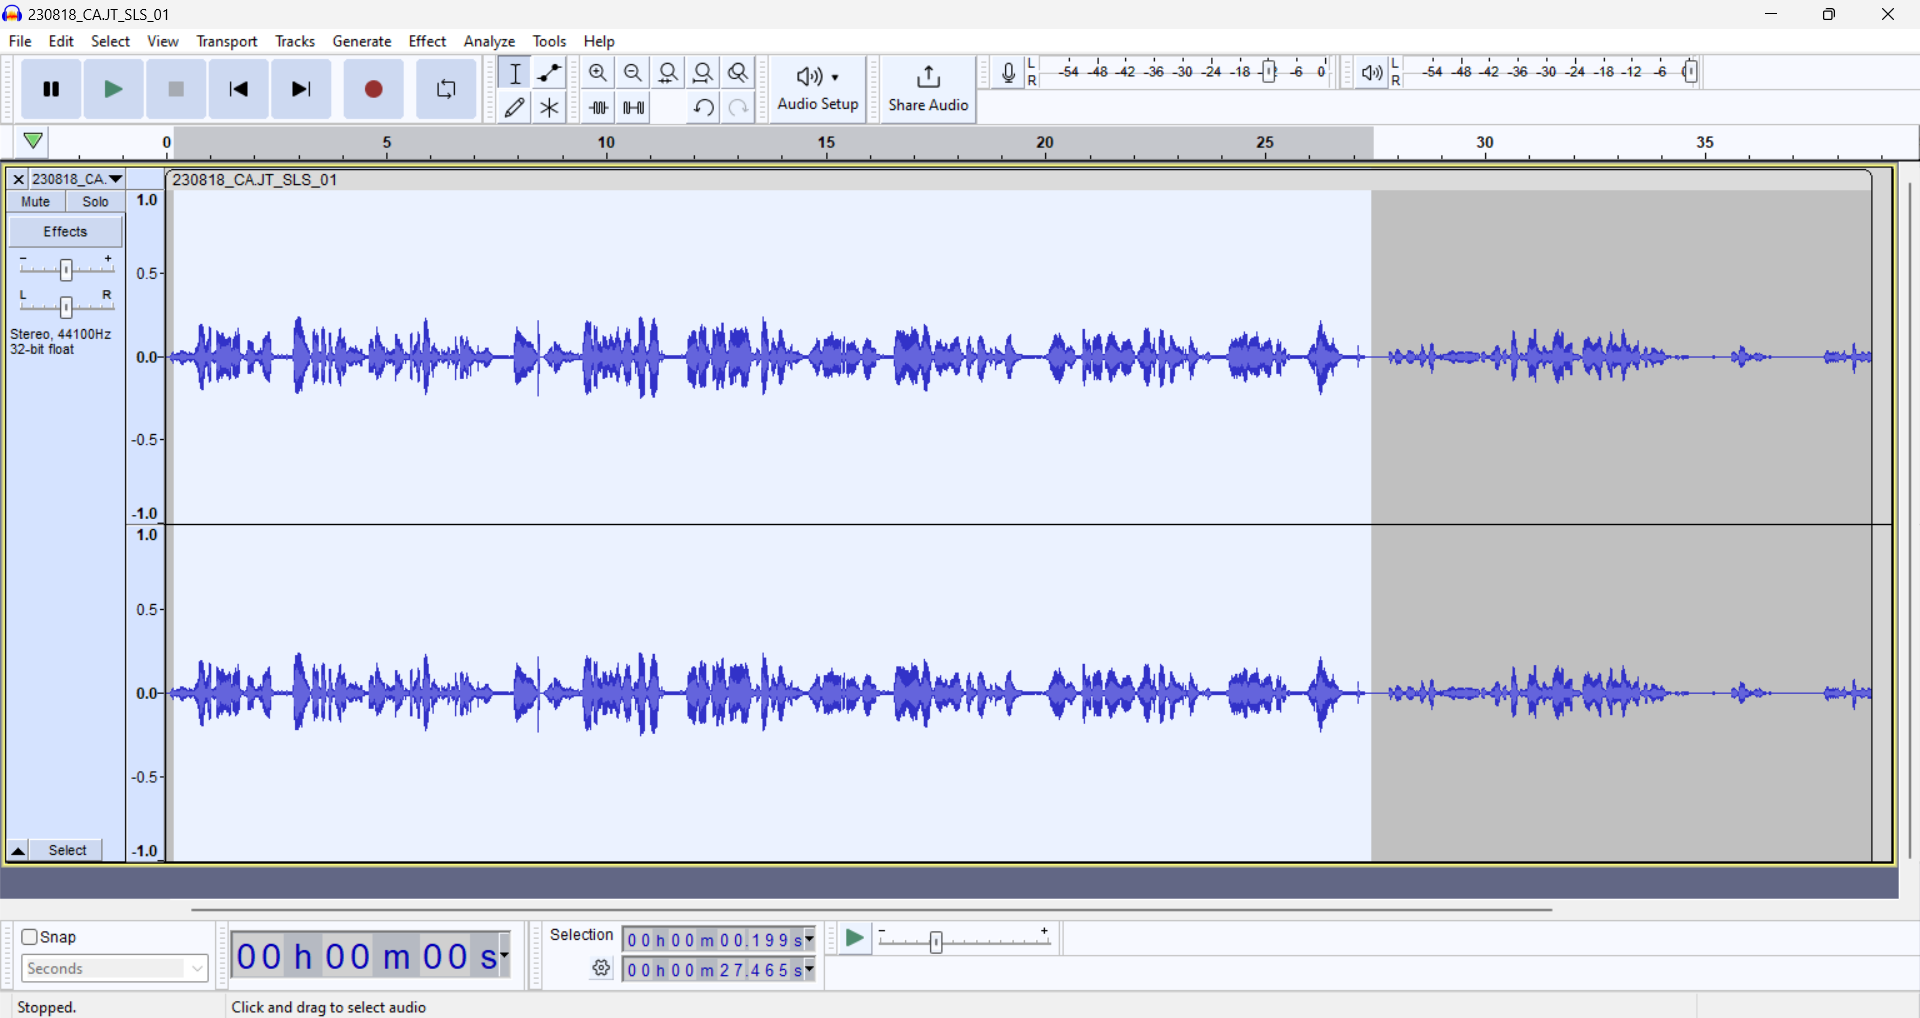
Segments that are too quiet will appear larger:


...
Compression (Recommended)
...
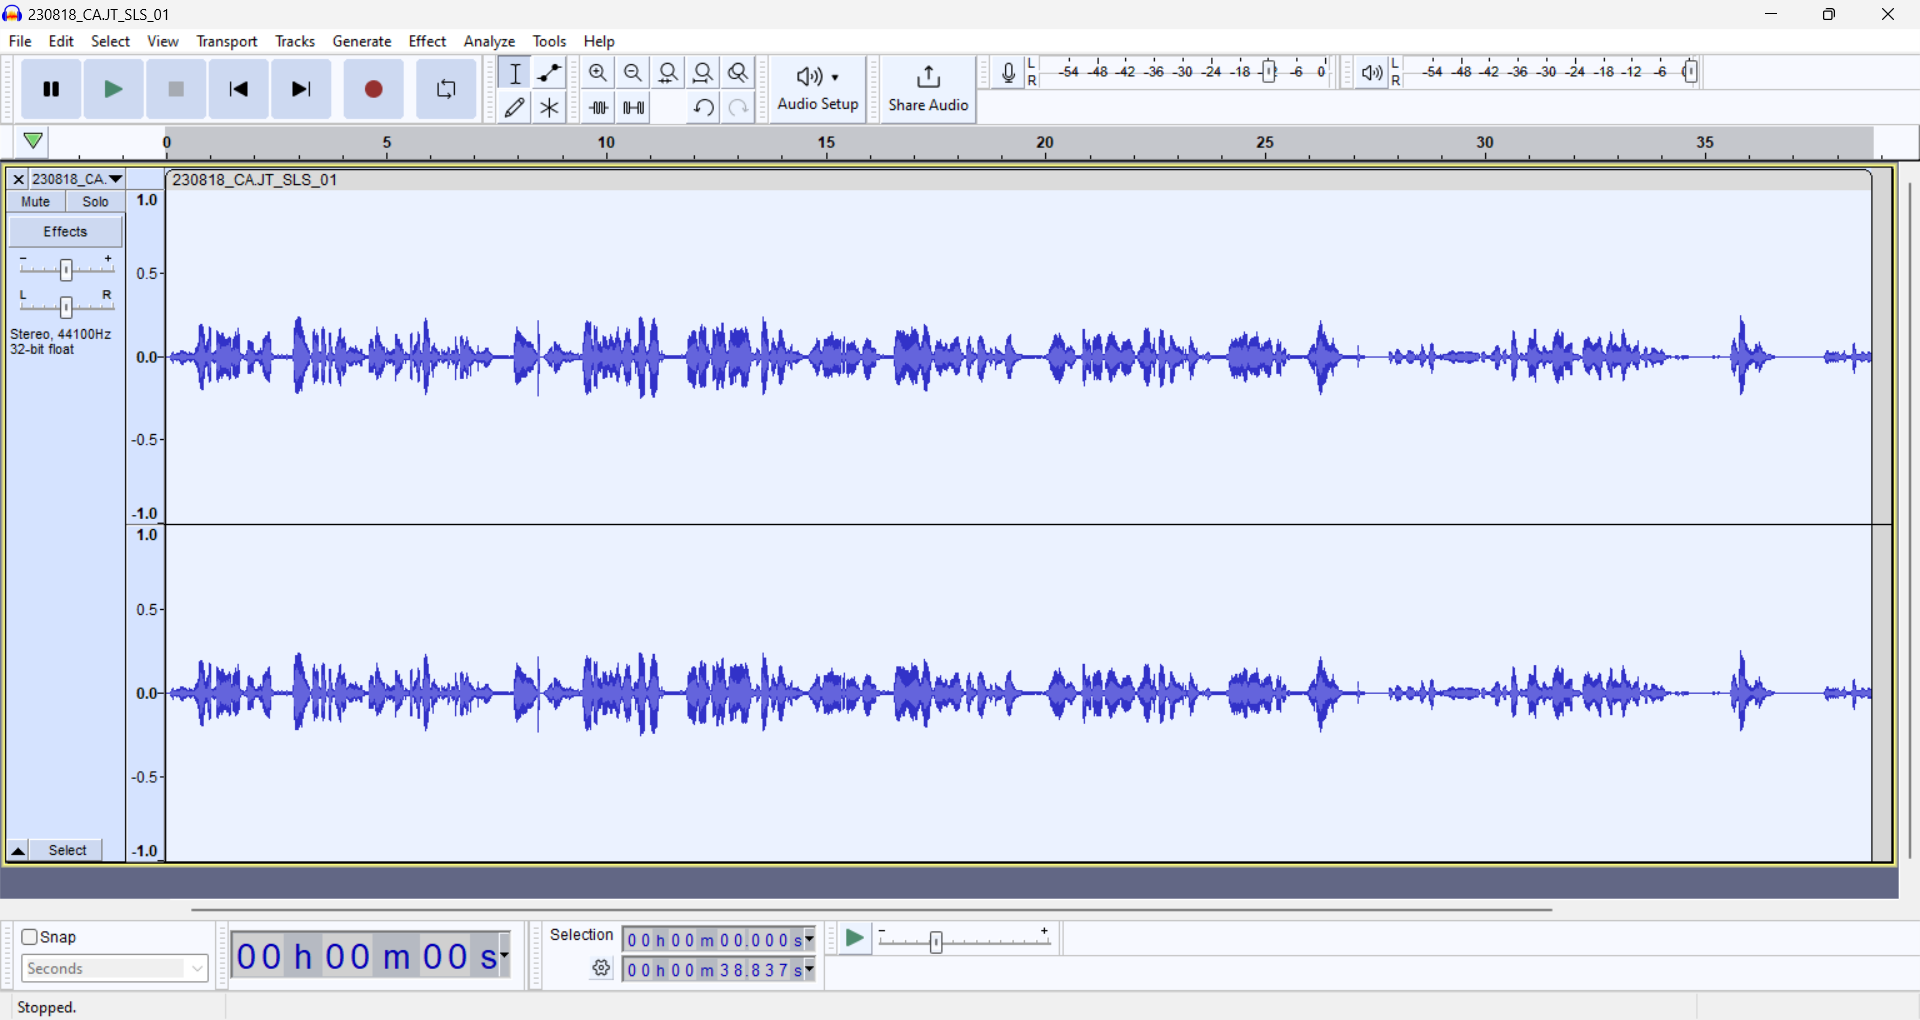
Select your whole track by using the "Select" button on the track menu, hitting Ctrl+A on PC, or Command+A on Mac. This will highlight your whole track, giving it a white or light blue colour.
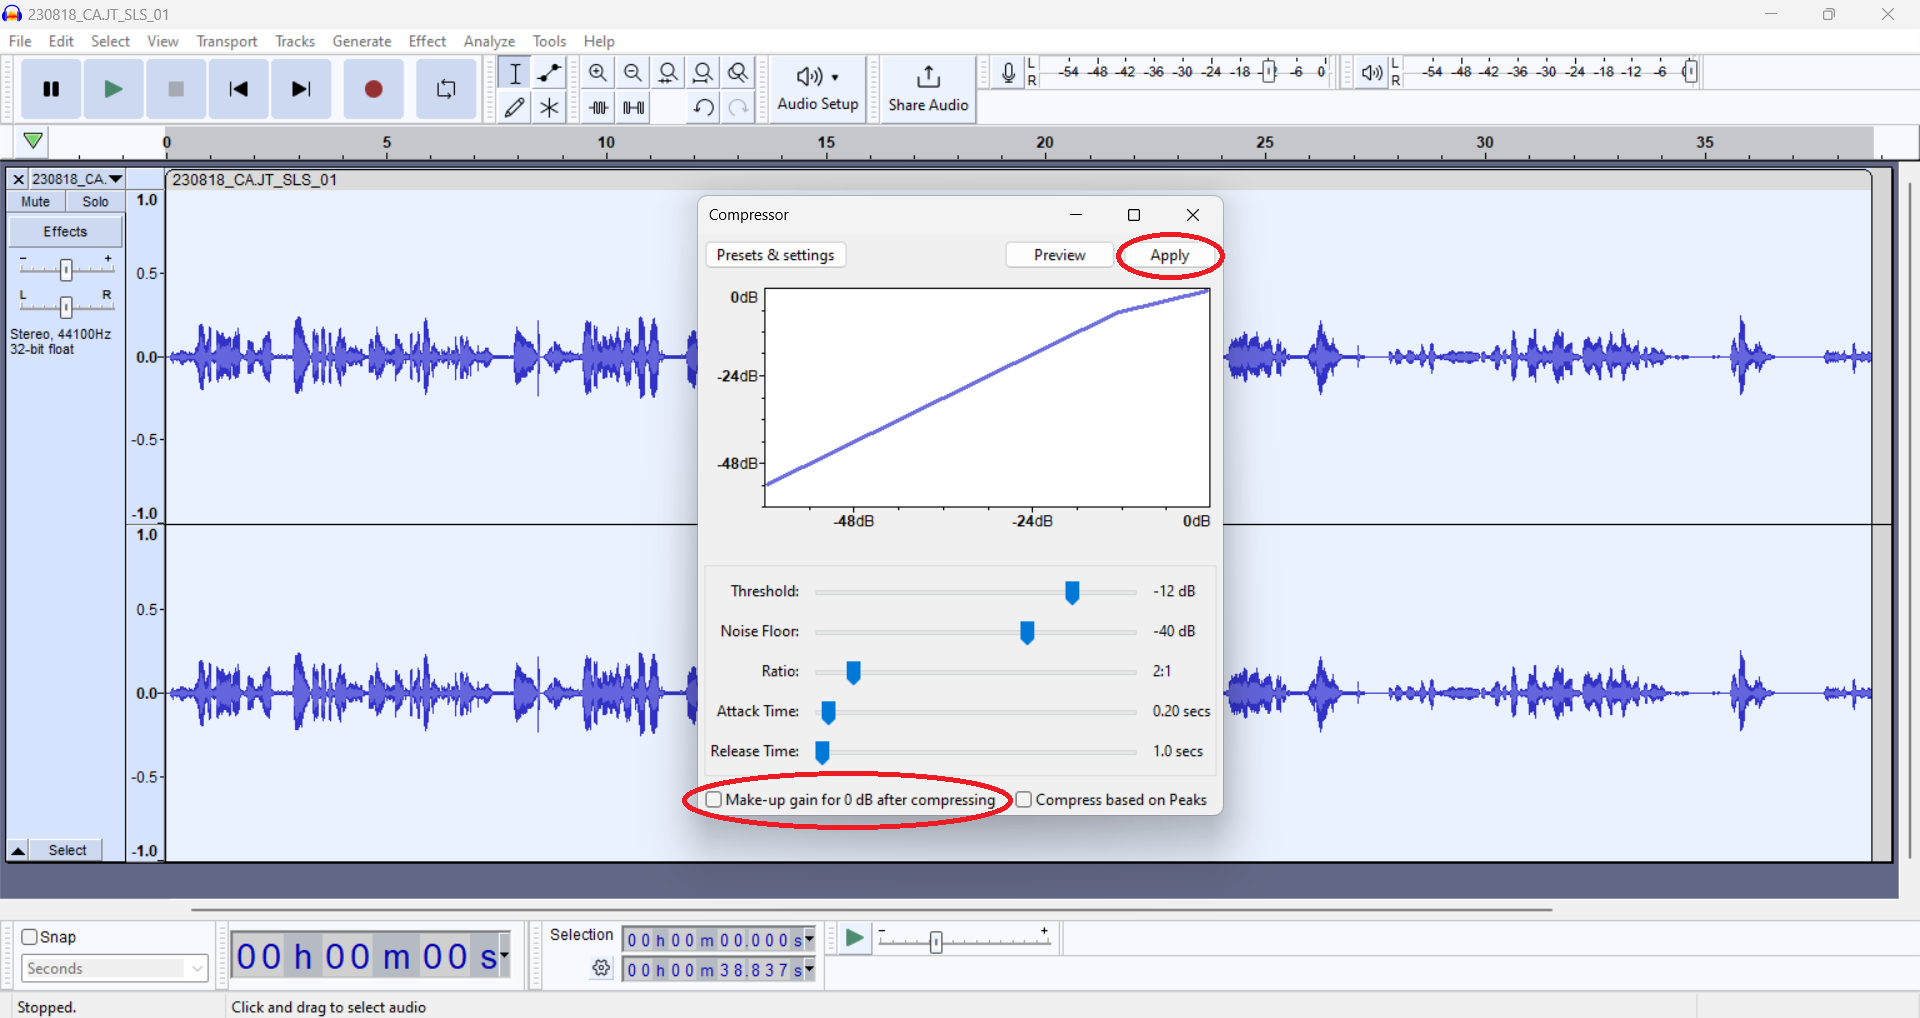
Under the “Effect” dropdown menu, hover over “Volume and Compression” and select “Compressor” from the menu that appears.


In the Compressor window, un-check the box marked "Make up gain for 0 db after compressing". Click "OKApply".

You may notice minor changes to your waveform, resulting in a 'smoothing' effect.

...
Changing Track Speed (Optional)
...